Anvil Windows VM
Build the Windows VM
-
Connect to Purdue’s Brown HPC homepage and select
Remote Desktop. Figure 1. Brown HPC Website at Purdue.
 -
Log-in with multi-factor authentication (Duo).
-
Note: If you’re not able to log in, it’s probably because you don’t have a Brown account. Please email us (datamine-help@purdue.edu) with your Purdue username (not ACCESS username), and then we will add you to our TDM allocation in Brown.
-
-
Once the Remote Desktop session is loaded click the
Terminal Emulatoricon at the bottom of the screen.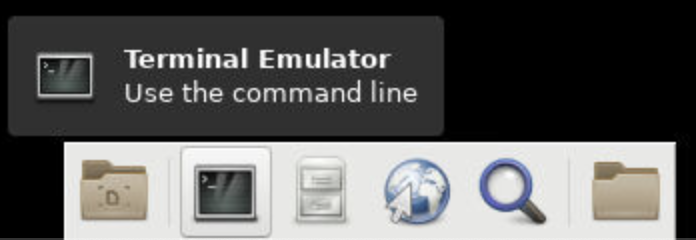 Figure 2. Terminal Emulator.
 -
In the terminal run the command
cd /scratch/brown/<user ID>.-
Be sure to replace the <user ID> with your ID.
-
For example, I would type
cd /scratch/brown/dglass.
-
-
In this new directory run the command
cp /scratch/brown/dglass/windows-gis.qcow2 ..-
Be sure to include the period at the end of the command.
-
This is a large file so it will take 5 to 10 minutes to copy.
-
-
Now we have our base Windows VM. In order to use it to connect to data on Anvil we have to set up SSH keys.
SSH Key Configuration
-
Navigate back to your Remote Desktop session (not the Windows VM).
-
In your Remote Desktop session open a new
Terminal Emulator.-
If you still have your terminal open you can also run
cdto go back to your home directory.
-
-
In the
Terminal Emulatorruncd .ssh.-
If this errors, run
mkdir .ssh`to create your `.sshdirectory. -
After that you can run
cd .sshagain.
-
-
Once you are in the
.sshdirectory runssh-keygen –a 100 –t ed25519 –f ~/.ssh/id_ed25519 –C “anvil_key”SSH Key SettingsAfter you run the
ssh-keygencommand above you can hit enter through all of the prompts.You don’t need to set a password for the SSH key.
This command will create the SSH keys that we will use to connect to Anvil.
-
After the
ssh-keygencommand is finished runcat id_ed25519.puband copy the output.-
We have the SSH key created! Now we need to add it to Anvil.
-
-
In the
Remote Desktopsession select the earth icon to open a web browser.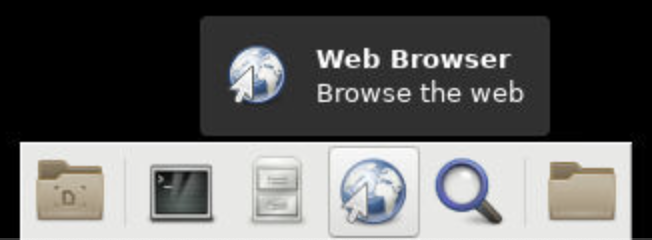 Figure 3. Web Browser.
 -
In the browser navigate to
ondemand.anvil.rcac.purdue.edu.-
If the browser warns you of a potential security risk select
Advanced…and then clickAccept the Risk and Continue.
-
-
Log-in to Anvil with your ACCESS ID and password.
-
Inside Anvil open a terminal by selecting
Clustersand then_Anvil Shell Access. Figure 4. Web Browser.
 -
In the terminal session run
cd .ssh.-
If the
.sshdirectory does not exist run themkdir .sshcommand and then runcd .sshagain.
-
-
Inside the
.sshdirectory runvi authorized_keys. -
This will open up a text editor that requires specific commands to make changes:
-
In the open file type
ito go into insert mode. This will allow you to add new text. -
Use
cntrl+vto paste the SSH key that you copied from theid_ed25519.pubfile on Brown. -
Be sure that the key is copied into a new line within the file.
-
Hit the
escapekey to leave insert mode then type:wqto write and quite the file.-
You can now close the browser session on Brown.
-
-
Connect to Anvil with the Windows VM
|
Changing VM Settings
If you’re having trouble viewing items in the Windows VM it can be helpful to change the resolution. To do this, right-click on the desktop of the Windows VM and choose Inside the |
-
Now we are on to the last step. Connecting our Windows VM on Brown to our data on Anvil.
-
In the
Remote Desktopsession on Brown selectApplicationsin the upper-left, followed byCluster Software, and thenWindows 10.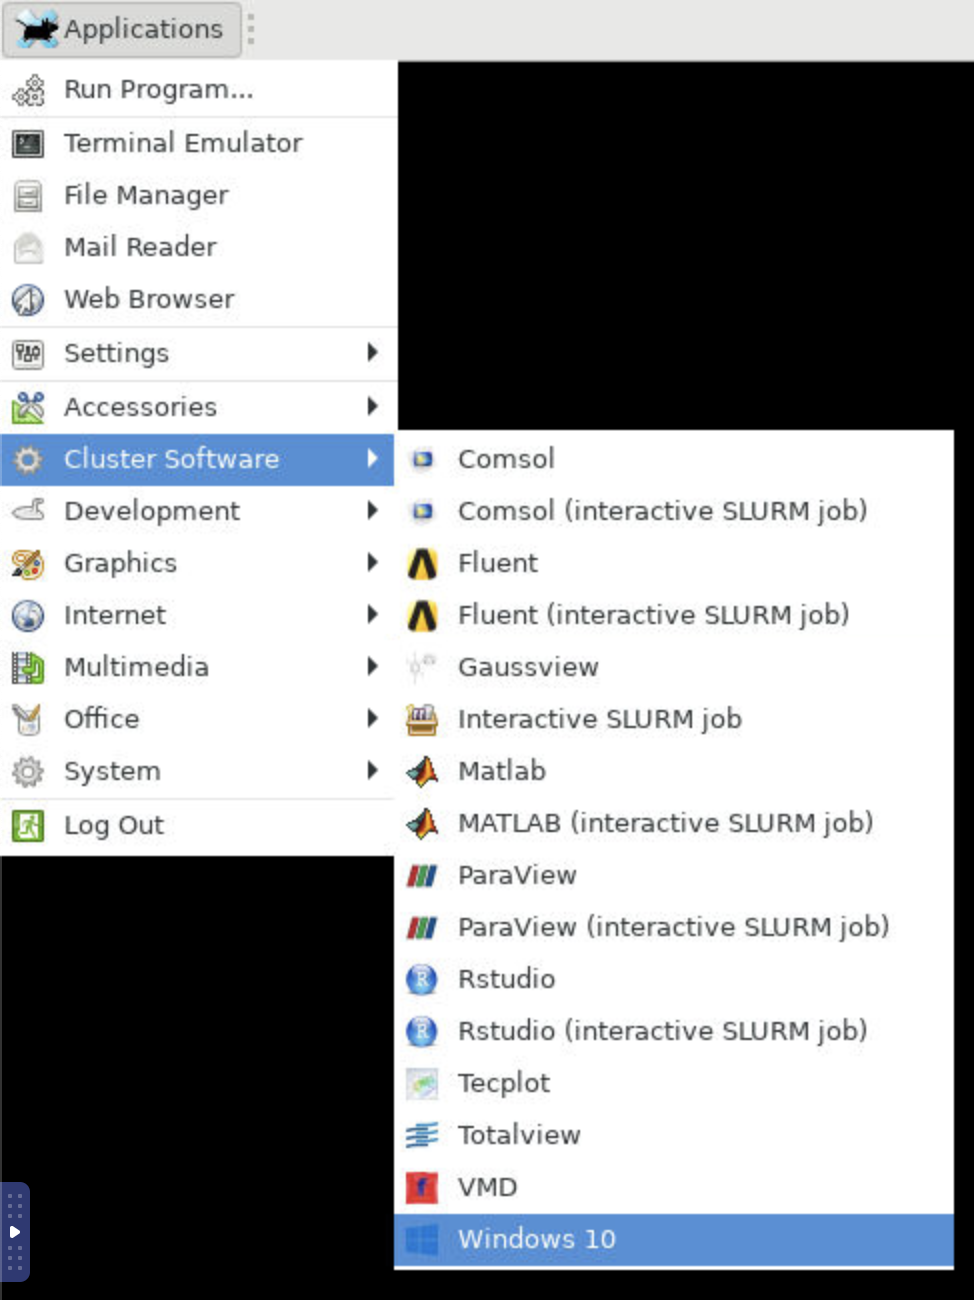 Figure 5. Launching a Cluster.
 -
Once the Windows VM launched in the
Image Selectionscreen select theSaved Imageoption.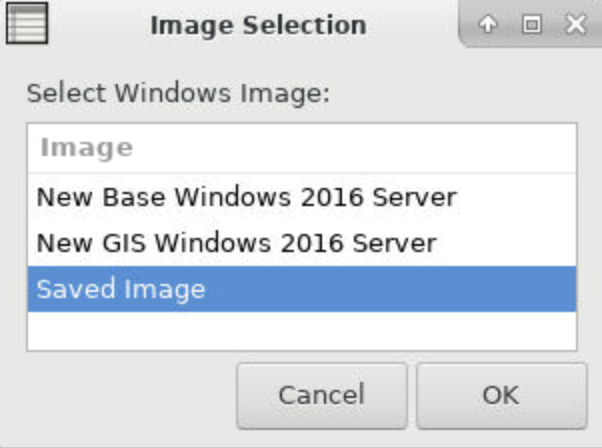 Figure 6. Saved Image Selection.
 -
On the following selection screen choose your saved
.qcow2image and click OK.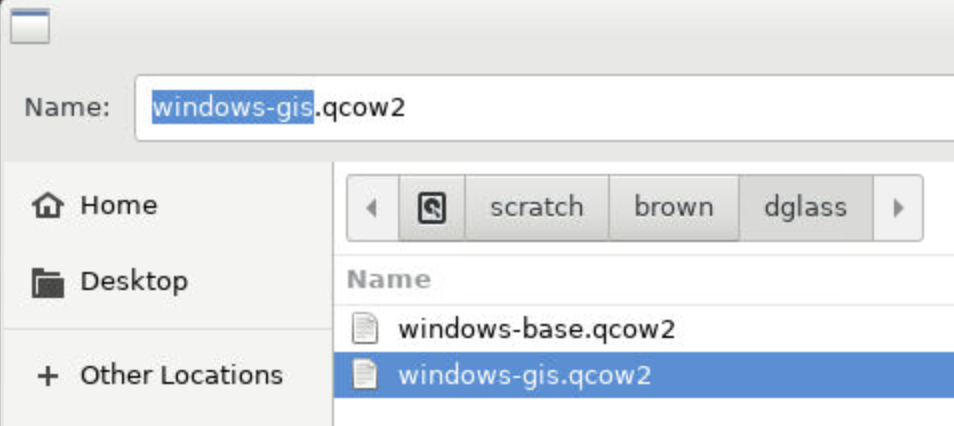 Figure 7. Specific Image.
 -
When the
Mount Selectionwindow appears, select the path/home/<user ID>and select OK.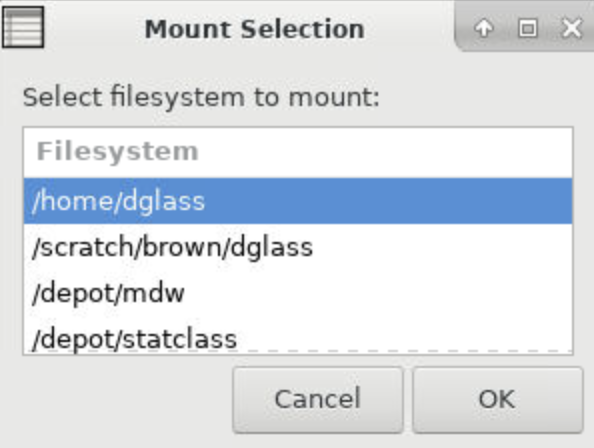 Figure 8. Path Mount.
-
-
After the path is selected the Windows VM will open.
-
The Windows VM already had the
SSHFS-Win Managerapplication installed. -
This is the application that we will use for our last step to connect to our data on Anvil.
SSHFS on the Windows VM
-
Open the
SSHFS-Win Managerapplication by selecting the app in the task bar. The app has a blue cloud over a blue drive shaped rectangle. Figure 9. SSHFS-Win.
 -
In the
SSHFS-Winapplication select theAdd Connectionicon.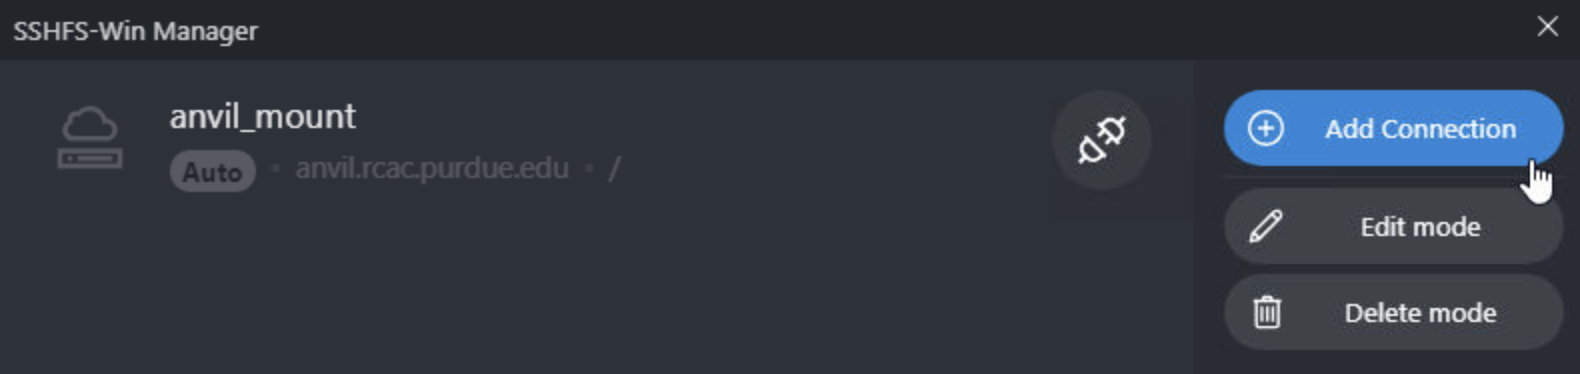 Figure 10. Add a New Connection.
 -
In the new connection information add the fields below:
-
NAME:
anvil_mount -
IP/HOST:
anvil.rcac.purdue.edu -
USER: ACCESS ID
Finding your ACCESS IDIf you don’t know your ACCESS ID log-in to ondemand.anvil.rcac.purdue.edu and check the user icon in the upper-right corner.
The ACCESS ID will start with an
x-. -
AUTHENTICATION METHOD:
Private Key (file) -
KEY FILE:
-
Click on the browse icon.
-
In the file explorer click
DesktopthenMy Cluster Scratch. -
Click the explorer bar next to`qemu` and add
\.sshto the path. Hit enter after it has been added.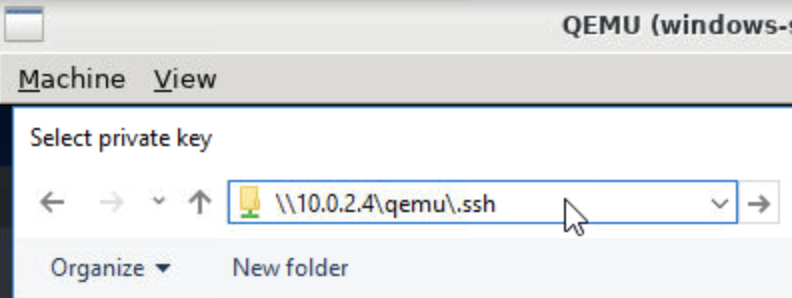 Figure 11. Update File Path.
 -
After you hit enter you should now see the
id_ed25519SSH files that we created earlier. -
Be sure to select the file that does not have the
.pubextension.
-
-
PATH:
/anvil/projects/tdm/corporate
-
-
Click
Save -
Once the connection information has been saved, click the disconnected plug icon to connect.
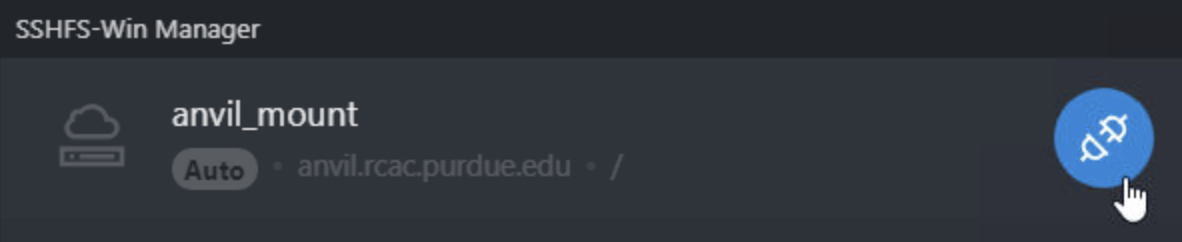 Figure 12. Check SSH Connection.
 -
If the connection icon turns green and the logo shows as connected then you are successful!
-
Once it’s connected Windows will act like the SSH connection is a local drive.
-
This means that you can install programs like PowerBI, Tableau, or ArcGIS Pro on the Windows VM and connect them to the SSH drive.
-
|
Submitting and Issue
If you have any issues please submit a ticket to The Data Mine team by emailing datamine-help@purdue.edu. |